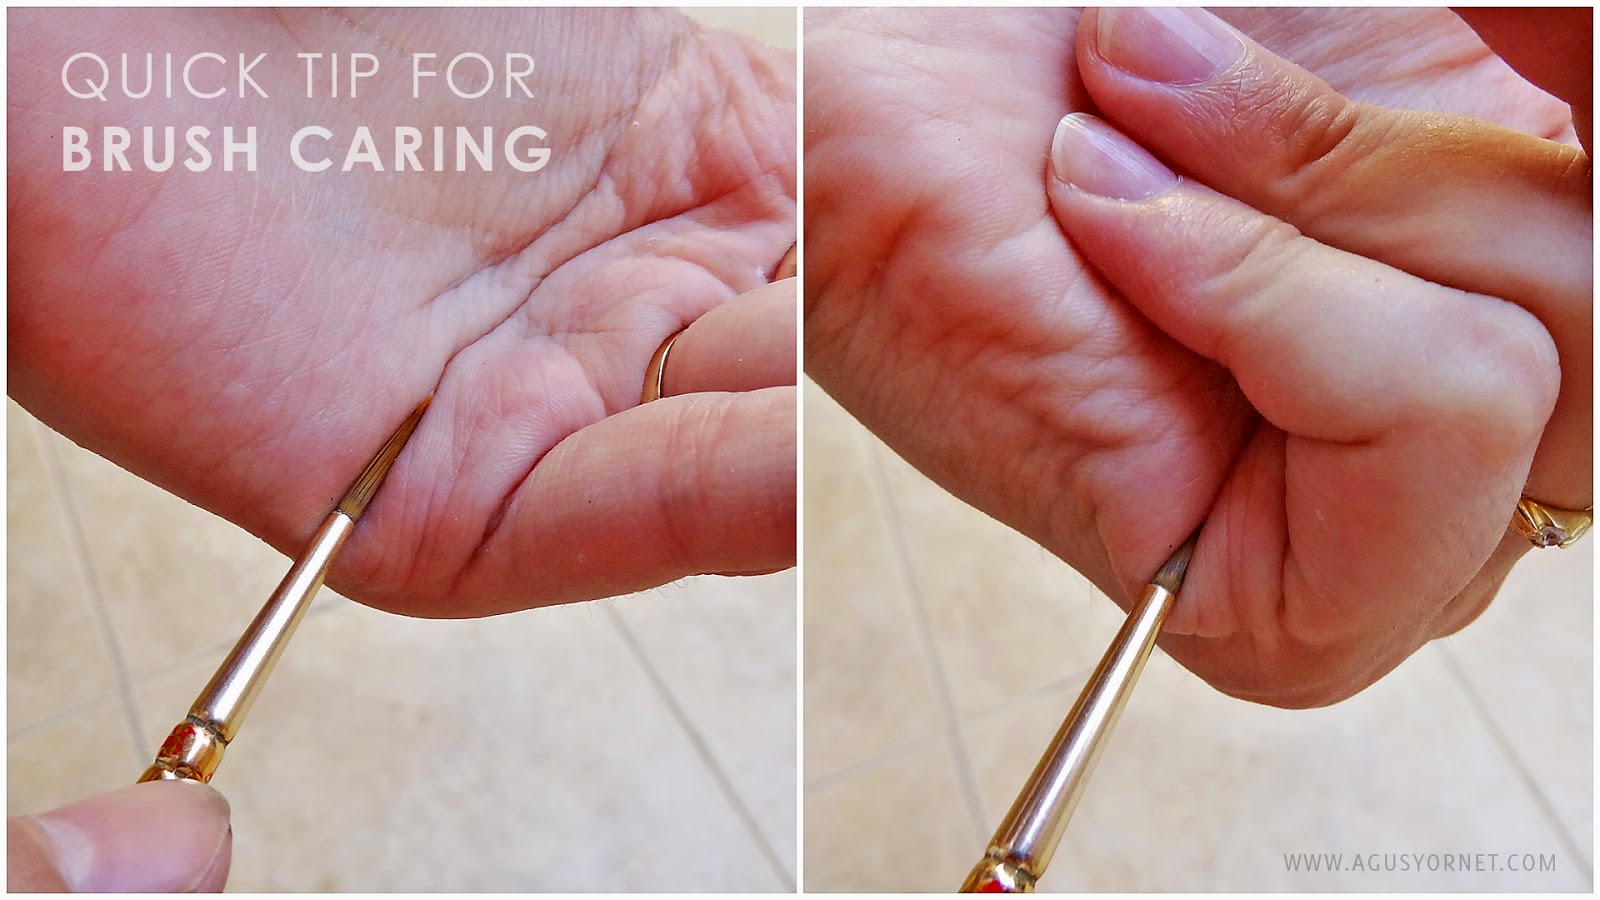
And when you realized, the year is over
6 years blogging and I right now I found myself guilty for not explaining you why I dissapear mostly half of the year... So as I love making summaries and lists, let's summaries my 2014 :)
Now, if you are reading this, and you are a university student, this might be really interesting for you! (really)
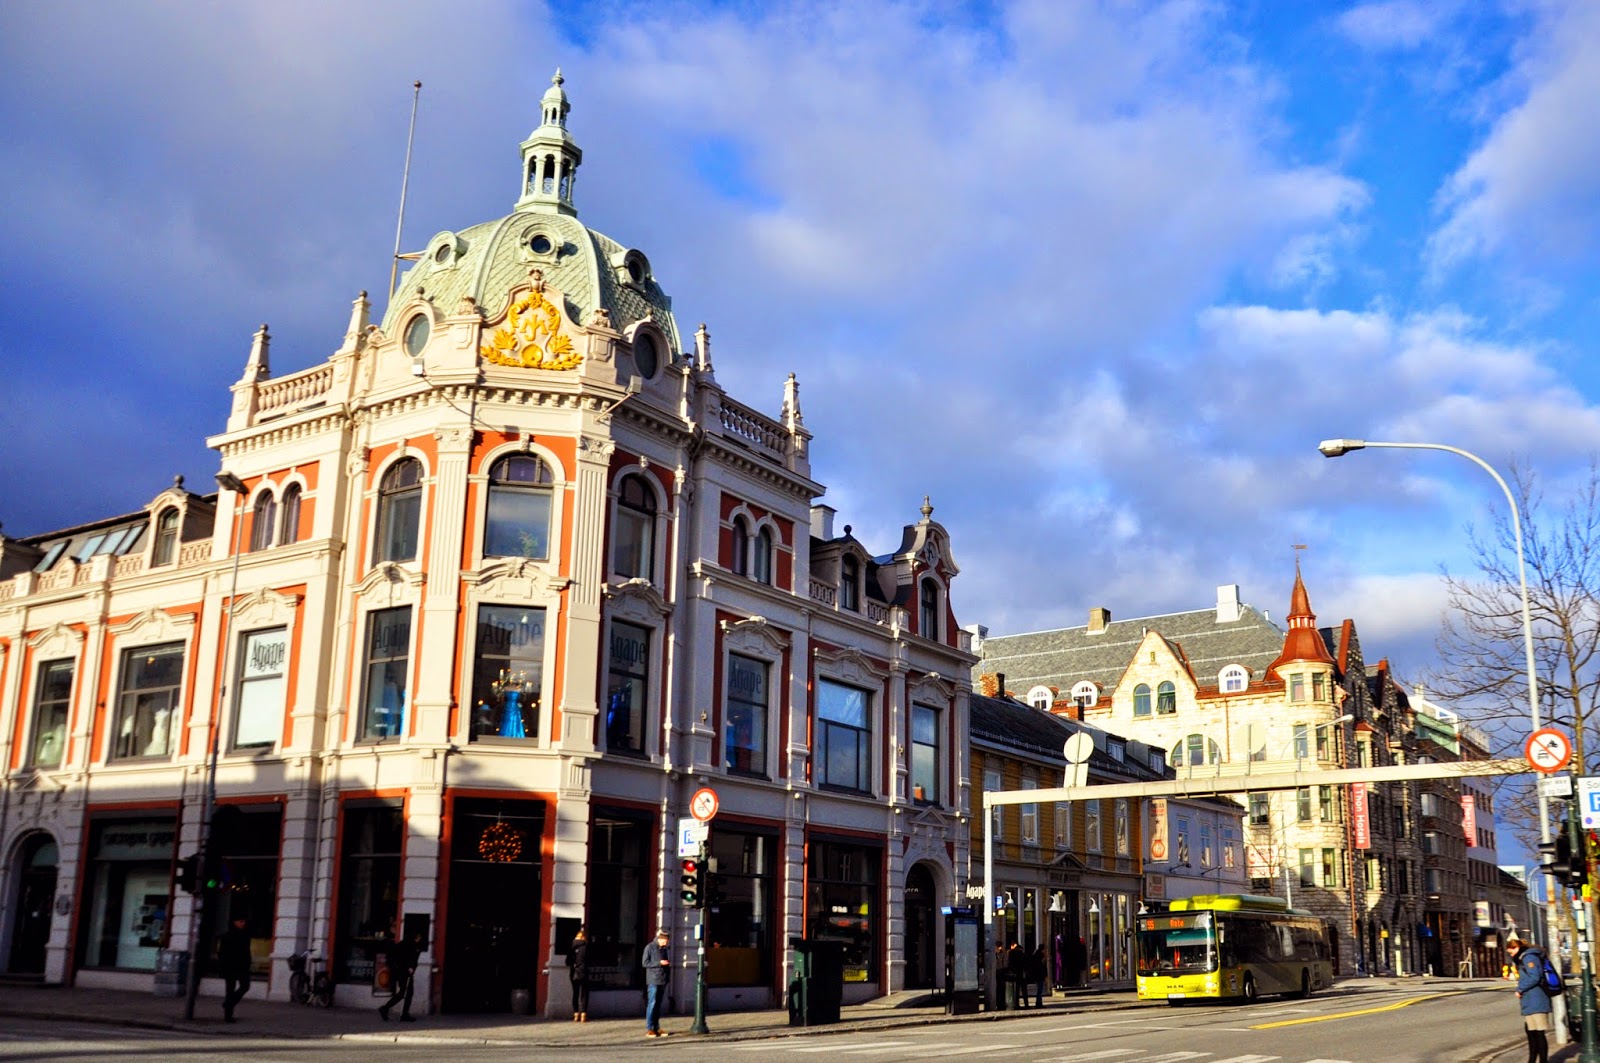
So, the South American Business Forum (SABF), is a conference organized by student for students, that take place in Buenos Aires, in August for three days and bring together 100 of the best students from all around the world. You can read more about and/or aplly here: http://www.sabf.org.ar/
This is how my year started, being part of the team that organize this conference, it was an intence year full of work, but a super amazing experience! If you has the chance to participate, it really change your life as a student!
")
6 years blogging and I right now I found myself guilty for not explaining you why I dissapear mostly half of the year... So as I love making summaries and lists, let's summaries my 2014 :)
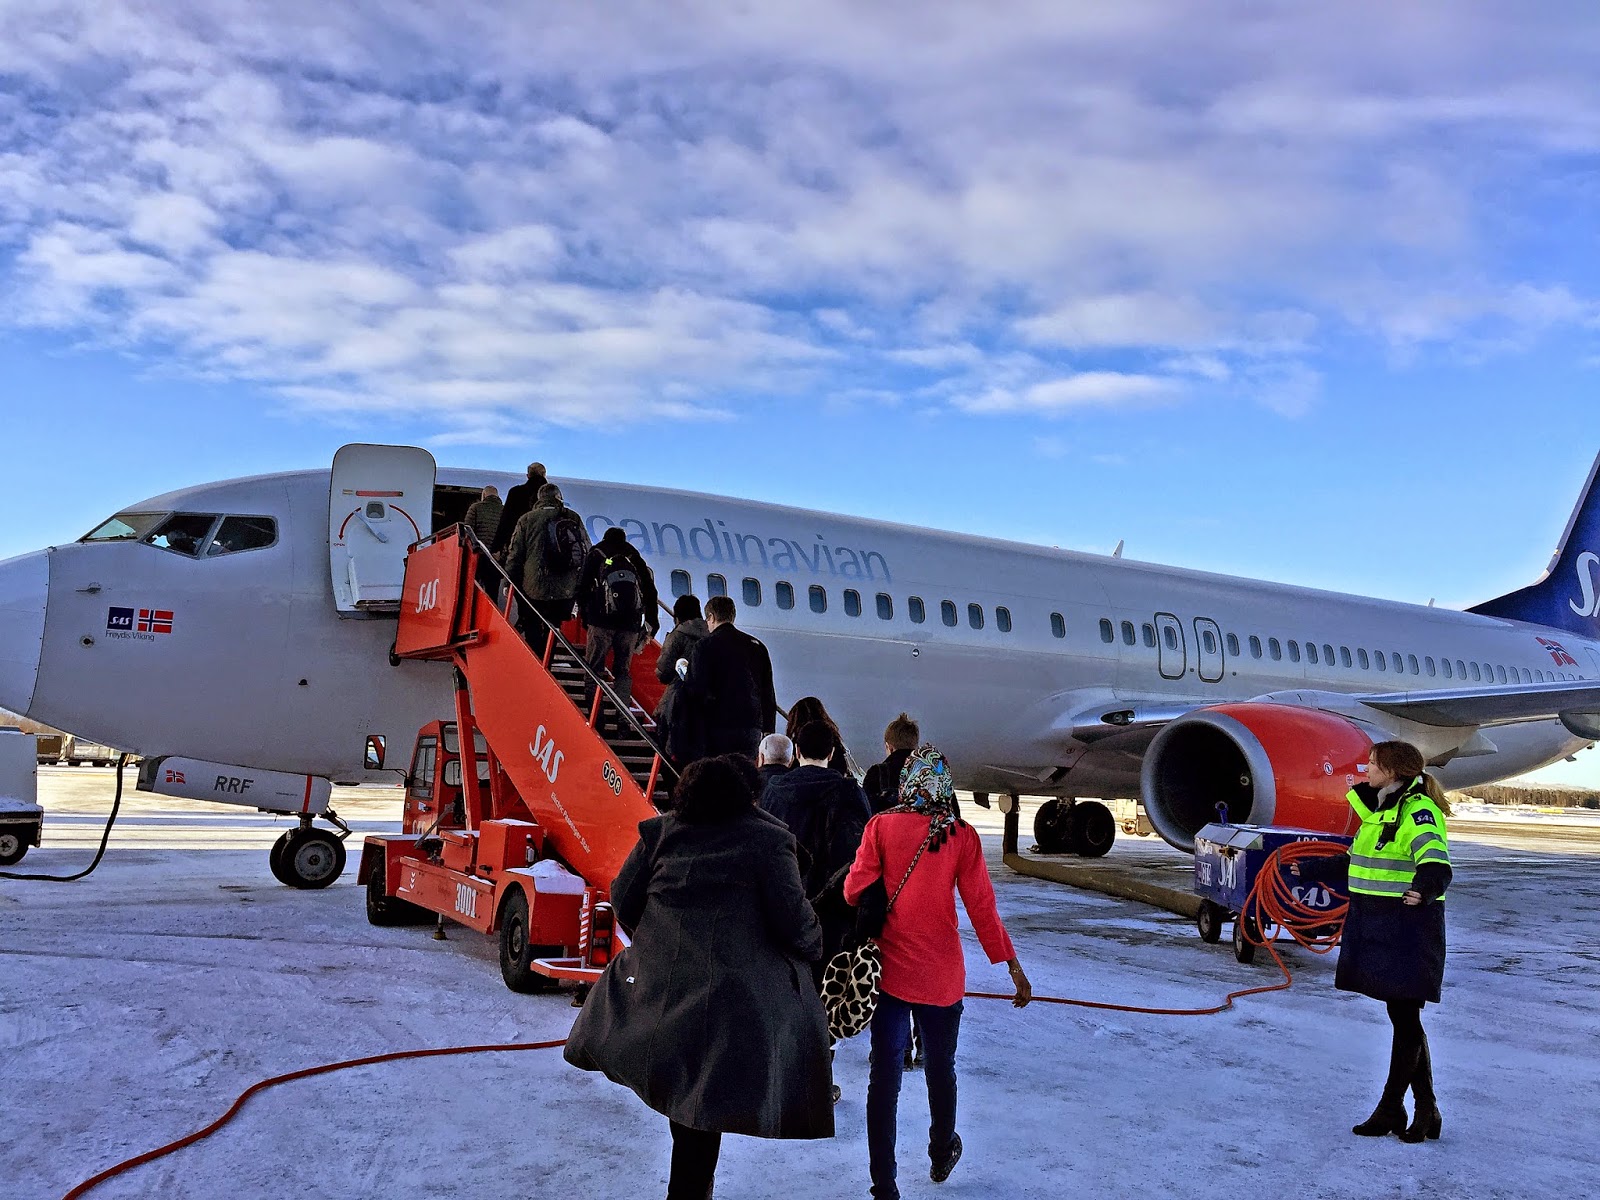
1. SABF
Now, if you are reading this, and you are a university student, this might be really interesting for you! (really)
So, the South American Business Forum (SABF), is a conference organized by student for students, that take place in Buenos Aires, in August for three days and bring together 100 of the best students from all around the world. You can read more about and/or aplly here: http://www.sabf.org.ar/
This is how my year started, being part of the team that organize this conference, it was an intence year full of work, but a super amazing experience! If you has the chance to participate, it really change your life as a student!
")
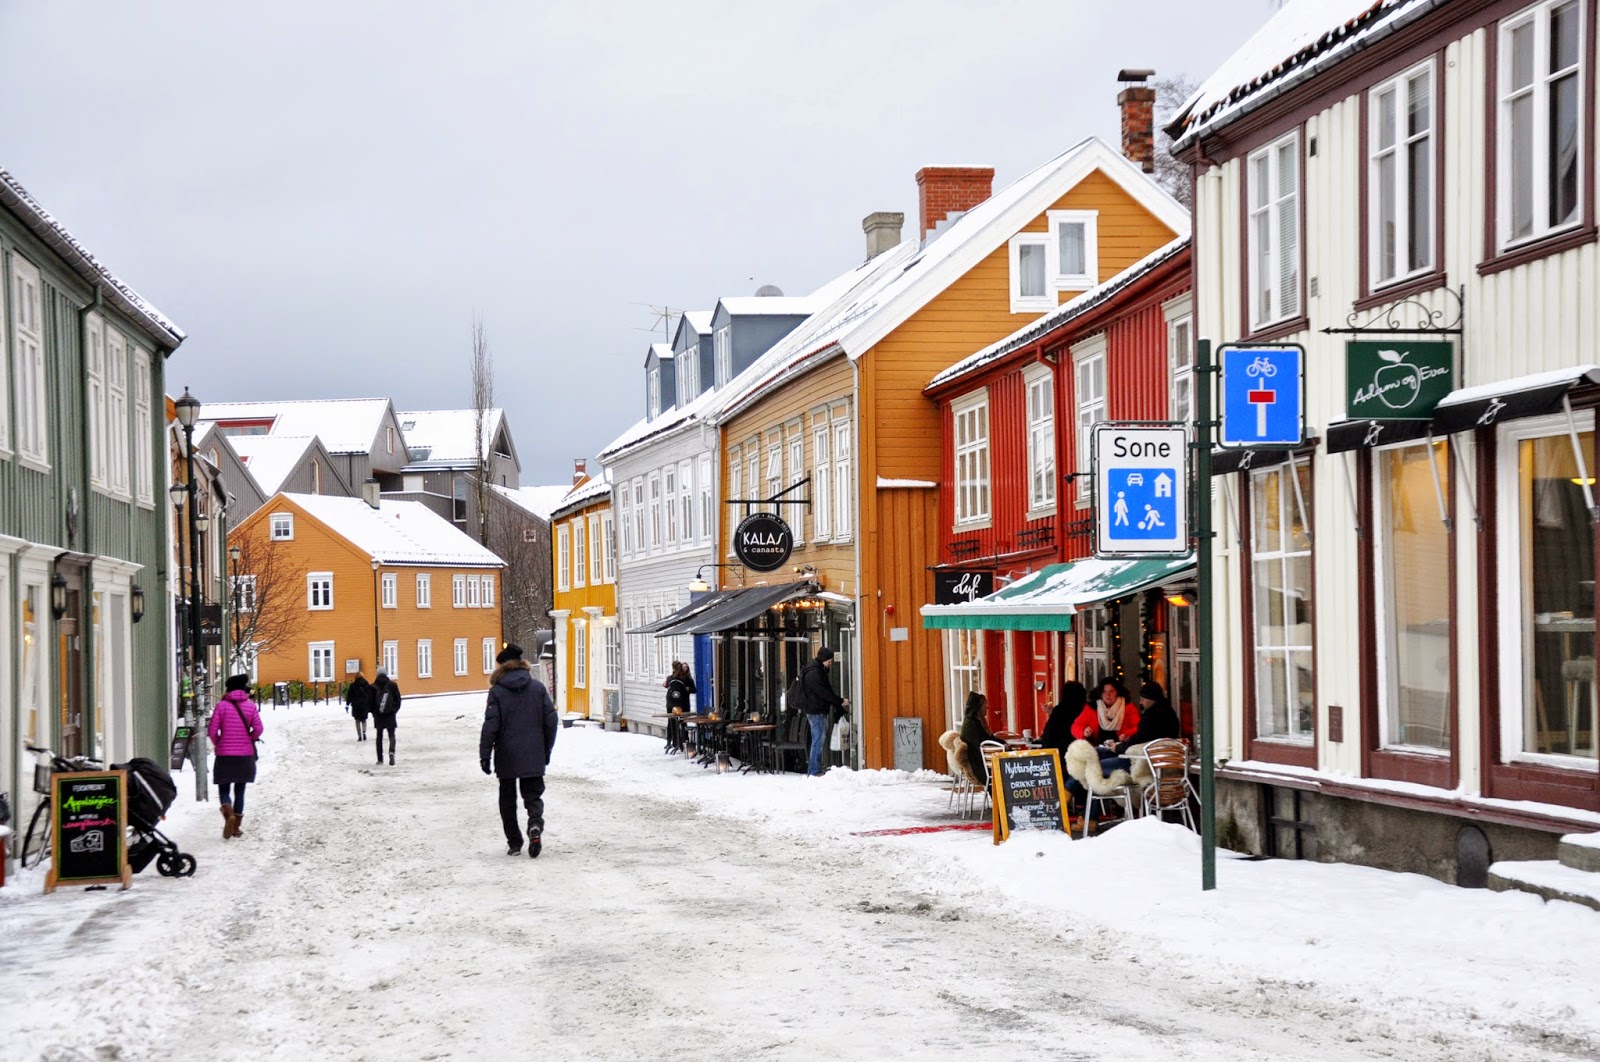
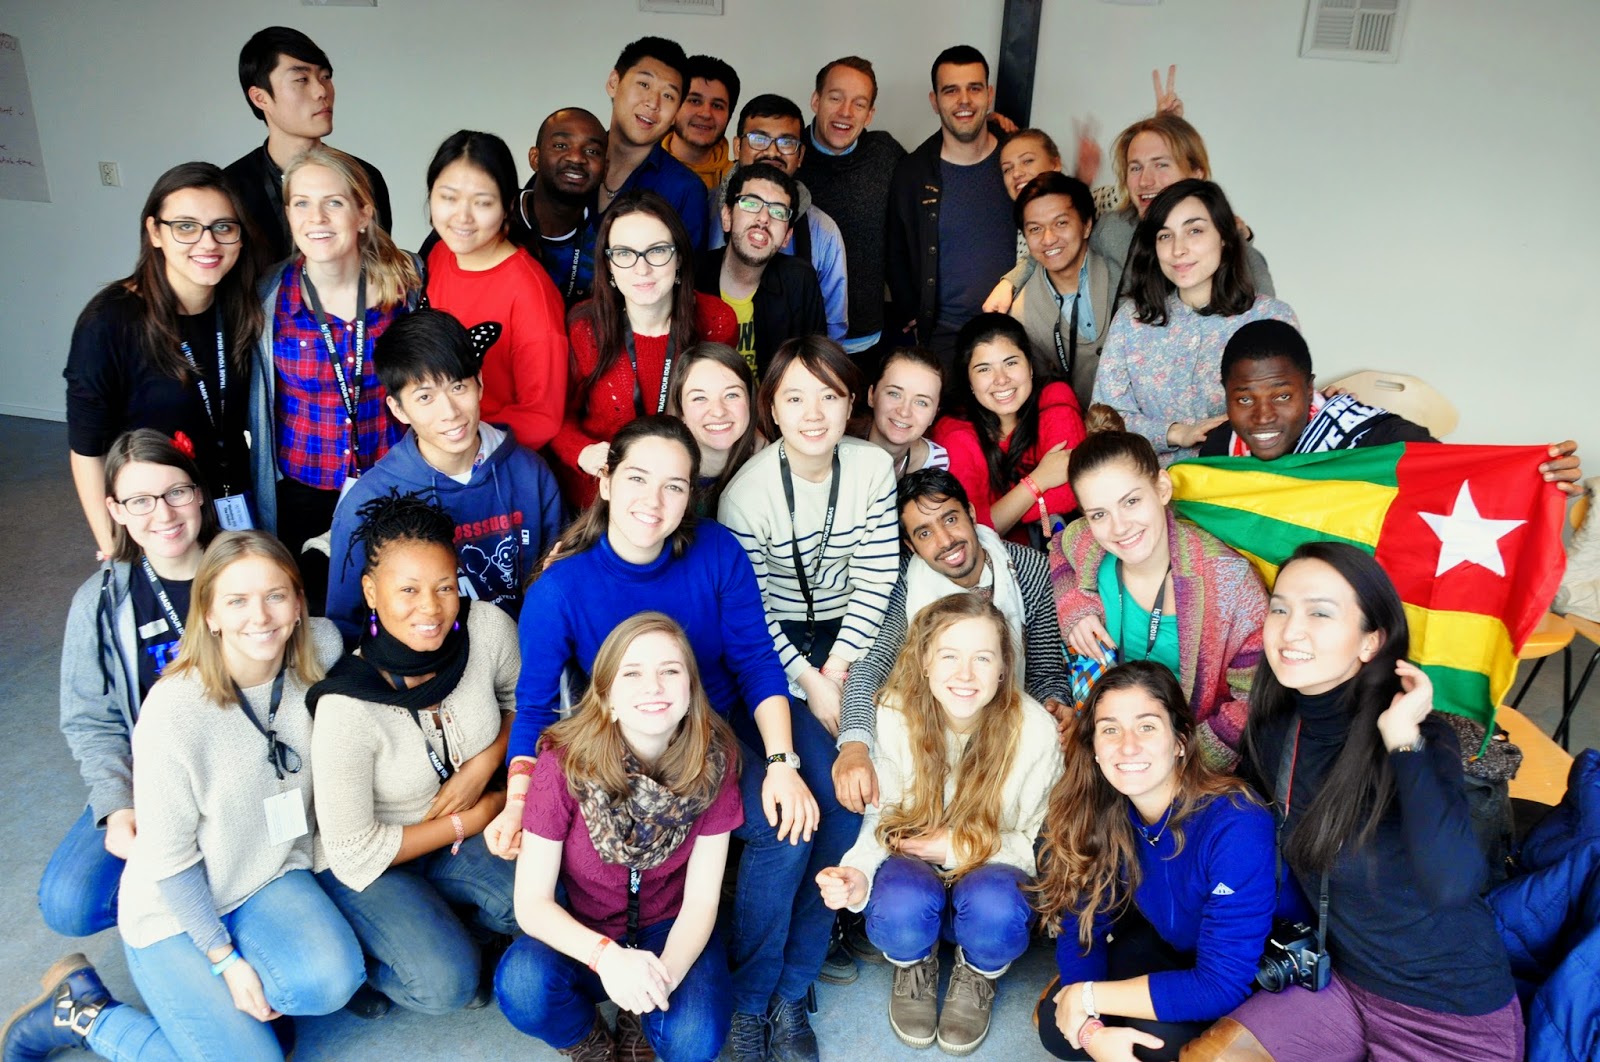
2. Tech Trek


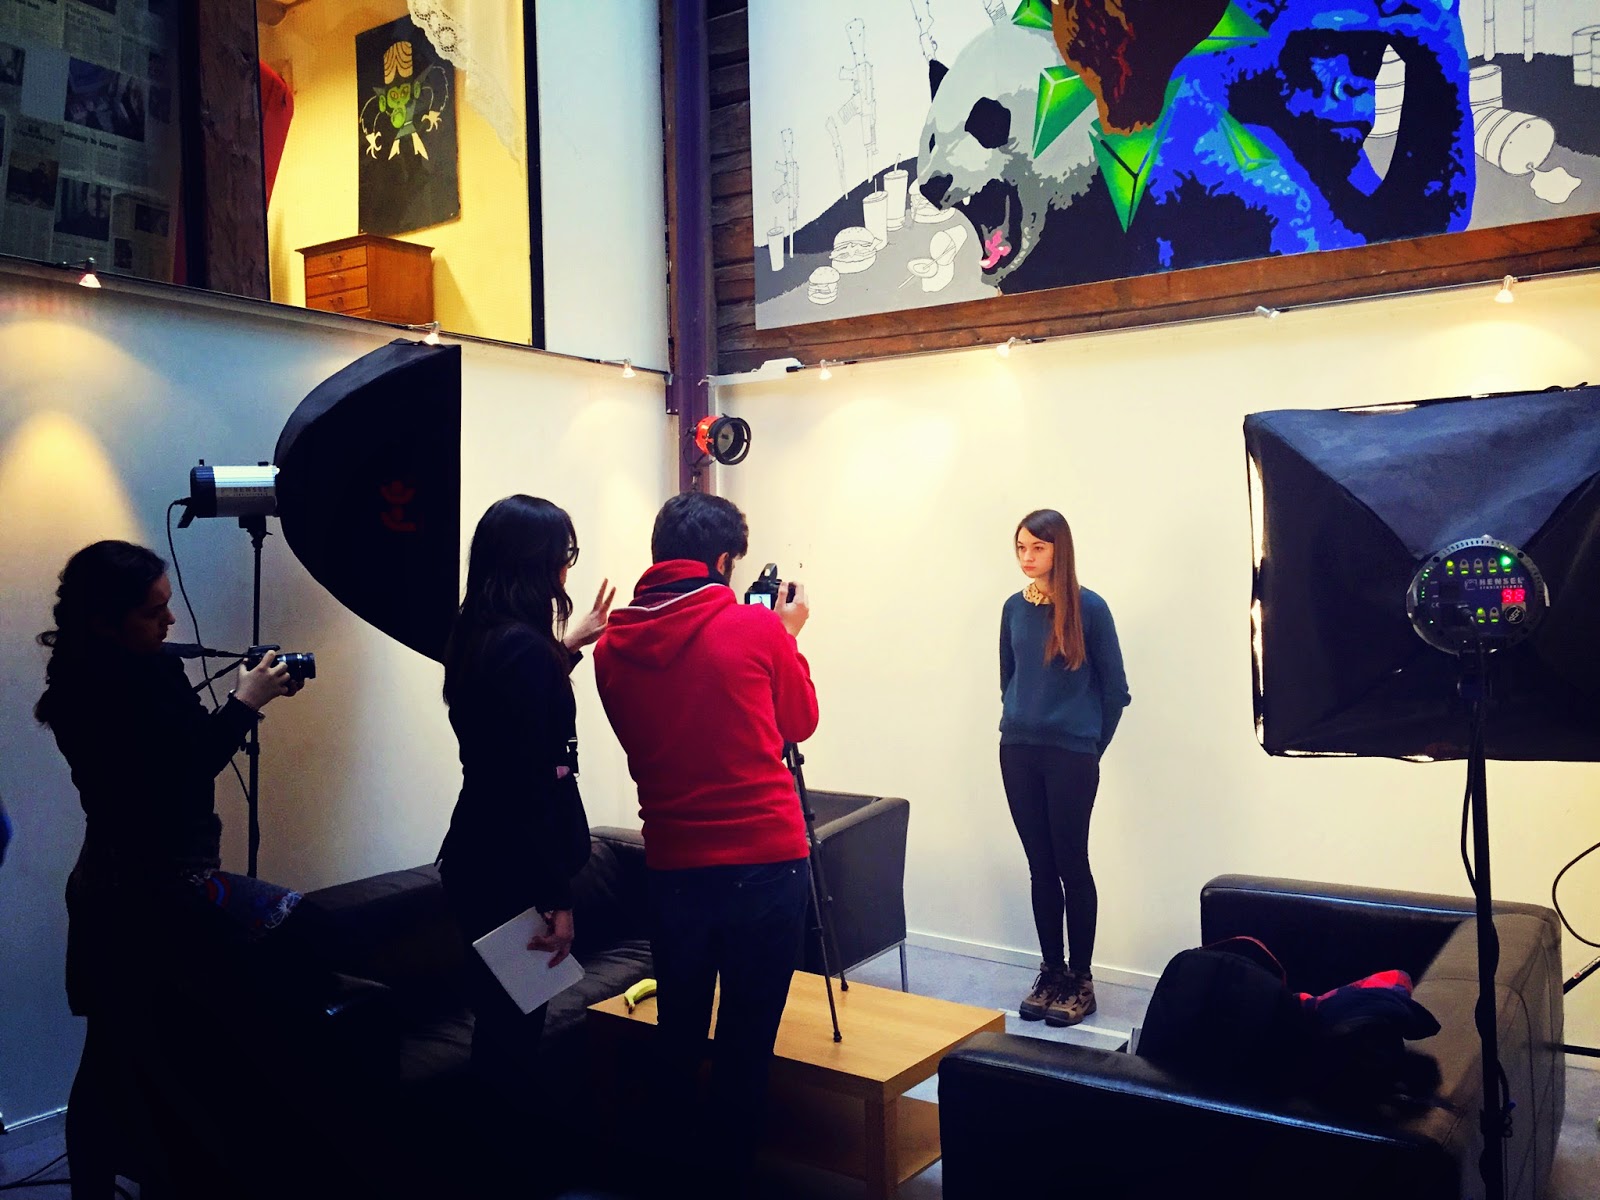
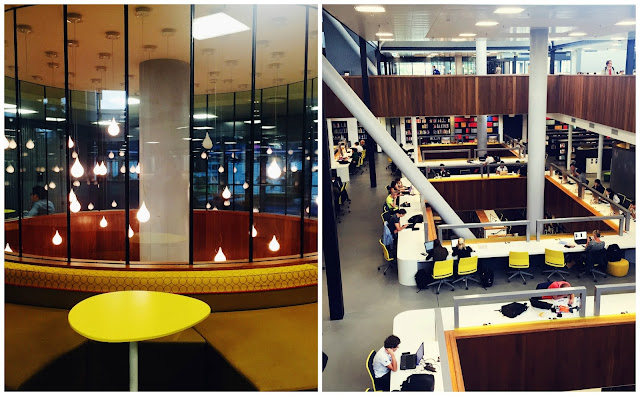
3. University
But not everything was travelling this year... I also spend a lot of time studying, and I happy to said that I'm in third year of my studies :) 2 years from getting my degree!!

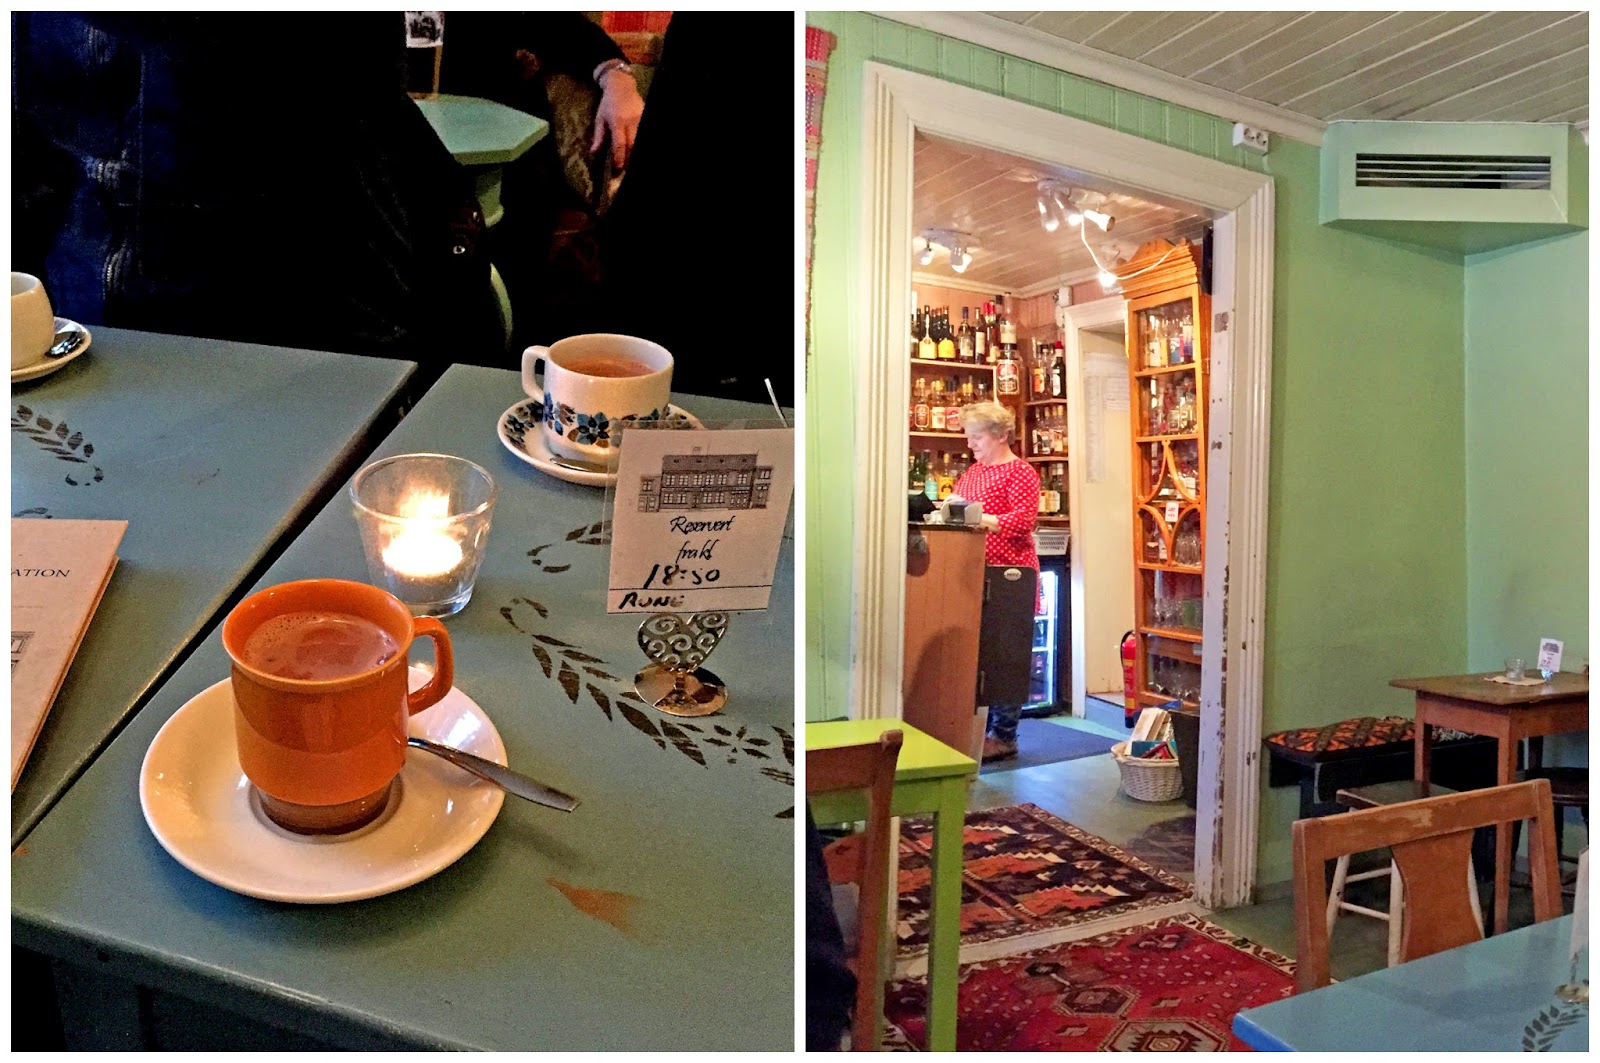
4. TEDx / Capital Cities Concert
I think this year I trully enjoyed Buenos Aires in his maximan potencial :) I get to attend Tedx Rio de la plata, that is the biggest TEDx in the world!! and it was amazing! If you dont know Ted Talks, they are like 10 minutes talk that really blow your mind, they are made by normal peopke who has a story to tell or are passionete about something. PS: they are addicting, so be careful lol

I also went to more concert this year that in my whole life! I went to hear Jack Johnson, Capital Cities (my favorite band so far), on the summer I also went to the Ultra Music Festival, which amazing but pretty exhausting, and a couple more

So yep, that was basically my year, was really really different from others, but I think one of the most amazing ones, and where I met the most incredible people!

So I'm super excited about this new year, but I don't know if can be as good as 2014 was :)
As, lot of things has changes around here, I will have a couple of different post soon!
So, what was your best moment of 2014??
Love, Agus